Emergency Roof Damage in Lawrence — What to Do Right Now
If a tree fell on your roof or water is coming through the ceiling right now: shut off electricity to affected rooms, place buckets under active drips, photograph every damaged area before cleanup, and call a local Lawrence roofer for emergency tarping — in that order. Here's the full action sequence for the next 30 minutes, 24 hours, and week.
What Should You Do in the First 30 Minutes After Roof Damage?
Safety first — assess whether the structure is safe to occupy. If a tree has penetrated the roof into living spaces, if you see sagging ceiling sections, or if you hear cracking or shifting sounds from the roof structure, evacuate the affected area. These indicate potential structural compromise. A ceiling holding pooled water can collapse without warning — do not stand underneath it. Move to an unaffected part of the house or leave the building entirely if the damage is extensive.
Control active water infiltration from inside the house. Place buckets, bins, or trash cans under every active drip point. If water is pooling on a drywall ceiling and the ceiling is bulging downward, carefully puncture the center of the bulge with a screwdriver to release the water into a container. This controlled drain prevents the entire ceiling panel from collapsing under the water's weight — which can send 50-100 gallons of water across your floor at once.
Move valuables and electronics away from the leak path. Water follows unpredictable paths through roof structures, attic spaces, and wall cavities. It may enter at one point on the roof and appear three rooms away at ceiling level. Move furniture, electronics, documents, and irreplaceable items away from any area showing water stains, dripping, or damp spots. Cover large items you can't move with plastic sheeting or tarps.
Turn off electricity to affected areas if water is near electrical fixtures. Water dripping through or near ceiling-mounted light fixtures, electrical outlets, or junction boxes creates an electrocution hazard. Turn off the circuit breaker for any room where water is contacting electrical components. If you can't identify the correct breaker, turn off the main breaker and call an electrician before restoring power.
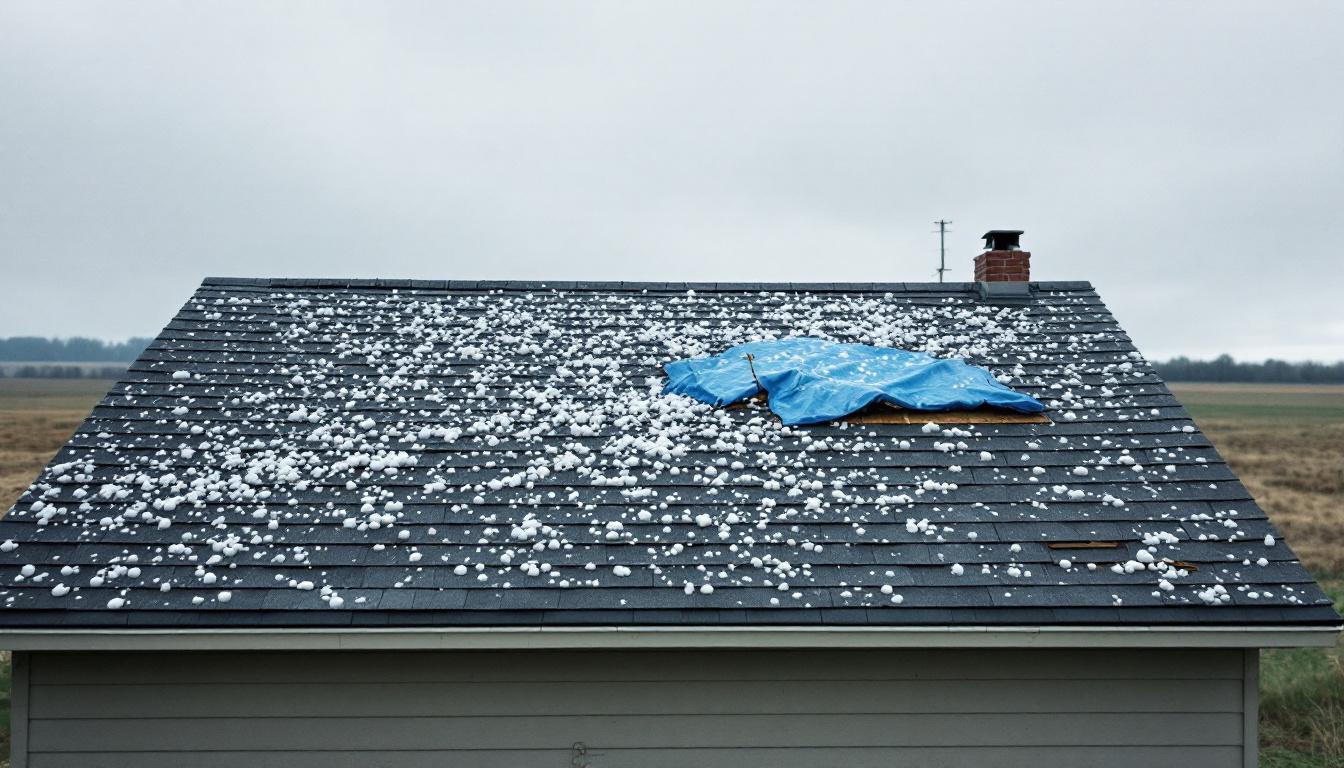
How Do You Properly Tarp a Damaged Roof to Stop Water Entry?
Use a heavy-duty tarp — 6-mil poly minimum, blue construction tarps work. The tarp must extend at least 4 feet past the damaged area on all sides. For ridge or peak damage, the tarp must extend over the ridge so water running down either slope is captured. Undersized tarps let water run underneath at the edges, making them ineffective. Hardware stores in Lawrence stock tarps in sizes from 6x8 to 20x30 — buy larger than you think you need.
Secure the tarp with 2x4 furring strips screwed through the tarp into the roof decking. Drape the tarp over the damaged area and wrap the edges around 2x4 boards. Place the wrapped edge flat against the roof surface and drive 3-inch screws through the 2x4, through the tarp, and into the roof decking below. This creates a wind-resistant attachment that won't blow off in subsequent storms. Bricks, sandbags, or rope tied to trees do not hold in Kansas wind.
Do not climb onto a wet, damaged, or compromised roof surface. If the damage is on a steep slope, above the first story, or involves structural failure (visible sagging, broken rafters, missing sections), do not attempt to tarp it yourself. Call (785) 699-7963 for emergency tarping service. We have proper harnesses, staging equipment, and experience working on compromised roof structures. The tarp can wait 2-4 hours — your safety can't be undone.
Emergency tarping is a temporary measure — not a repair. A properly installed tarp can protect your home for weeks or even months while the insurance process and permanent repairs are arranged. However, tarps degrade in UV exposure, can shift in high winds, and create moisture traps if not properly ventilated. Check the tarp after every storm event and replace it if it tears or shifts. Plan for permanent repairs within 30-60 days.
How Do You Prevent Roof Leak Water Damage From Getting Worse?
Start fans and dehumidifiers within 24 hours of water entry. Mold growth begins within 48-72 hours of moisture exposure in Kansas's humid climate — especially during summer months. Run fans aimed at wet surfaces and dehumidifiers in enclosed spaces to pull moisture out of drywall, carpet, and wood framing. If you don't own a dehumidifier, rent one from a Lawrence equipment rental company immediately.
Remove wet carpet, pad, and insulation if the area is large. Carpet pad absorbs water and holds it against the subfloor, creating ideal mold conditions. If more than a 10x10 area of carpet is saturated, pull the carpet back and remove the pad. Carpet can sometimes be dried and reinstalled; pad must be replaced. Wet attic insulation (fiberglass or cellulose) loses its R-value and becomes a mold substrate — remove and replace it once the roof is repaired.
Document all water damage with photos before cleanup. Your insurance claim covers not just the roof repair but all secondary damage caused by the roof failure — water-damaged drywall, ceiling replacement, carpet replacement, insulation replacement, mold remediation, and damaged personal property. Photograph everything before you clean it up or throw it away. A dated photo of water-stained carpet is worth more to your claim than a description from memory.
Keep receipts for every emergency expense. Tarps, buckets, fans, dehumidifier rental, hotel stays if the home is uninhabitable, meals if your kitchen is affected — all of these are potentially reimbursable under your insurance claim's "additional living expenses" and "duty to mitigate" provisions. Save every receipt. Your insurer won't reimburse expenses you can't document.
When Should You Notify Your Insurance Company After Roof Damage?
File the claim within 24-72 hours of the damage event. Kansas insurance policies require "prompt" notification. While the legal deadline is typically 1-2 years, filing within days establishes the timeline, gets you in the adjuster queue early (critical after area-wide storm events when adjuster schedules fill up fast), and demonstrates you're taking the loss seriously. Delayed filing invites questions about whether the damage is actually from the claimed event.
Have your documentation ready when you call the claims line. Your policy number, the exact date and time of the damage event, photos and video of all damage (exterior and interior), a list of affected areas and items, and any emergency repair receipts. The more complete your initial filing, the smoother the process. Adjusters prioritize well-documented claims over vague descriptions.
Request an adjuster inspection within one week. After major Douglas County storms, adjuster backlogs can extend 4-6 weeks. The sooner you file, the earlier your appointment. Ask for a specific date and time, and request that the adjuster inspects the roof (not just from the ground). Have your roofing contractor present if possible — we attend adjuster inspections to ensure every damage point is documented in the scope.
Do not make permanent repairs before the adjuster inspects. Emergency tarping and water damage mitigation are expected and required (duty to mitigate). But replacing shingles, installing new membrane, or making structural repairs before the adjuster sees the damage can result in a denied claim — because the adjuster can't verify what was damaged. Make temporary fixes to stop water entry, document everything, then wait for the inspection before permanent repairs.
When Should You Call a Professional vs. Handle It Yourself?
You Can Handle...
- ✓ Placing buckets and containers under active leaks
- ✓ Draining ceiling water bulges into containers
- ✓ Moving valuables away from water damage
- ✓ Running fans and dehumidifiers
- ✓ Tarping a single-story, low-slope area from a ladder
- ✓ Photographing and documenting all damage
Call a Professional For...
- ✓ Tree removal from the roof structure
- ✓ Tarping steep slopes or second-story roofs
- ✓ Structural damage assessment (sagging, broken rafters)
- ✓ Large-area water damage restoration and mold prevention
- ✓ Electrical hazards from water near wiring
- ✓ Insurance claim documentation and adjuster coordination
Emergency Roof Damage — Urgent Questions
- Does homeowners insurance cover emergency roof damage in Kansas?
- Most Kansas homeowners insurance policies cover sudden and accidental roof damage from wind, hail, fallen trees, and storm events. They do not cover damage from neglected maintenance, gradual deterioration, or normal wear and tear. If a storm ripped shingles off your roof or a tree fell through it, that is typically a covered event. File the claim promptly and document everything with photos and video before making permanent repairs.
- Can I tarp my own roof in an emergency?
- If you can safely access the damaged area from a ladder without climbing onto a wet or compromised roof surface, you can apply a temporary tarp. Use a 6-mil poly tarp that extends at least 4 feet past the damaged area on all sides. Secure it with 2x4 furring strips screwed into the roof decking — not just weighted with bricks or sandbags, which blow off in wind. If the damage is on a steep slope, above the first story, or involves structural failure, do not attempt it yourself — call a professional.
- How quickly can a roofer respond to an emergency in Lawrence?
- We respond to emergency roof damage calls within 2-4 hours during business hours and within 12 hours for after-hours calls. During major storm events affecting all of Douglas County, response times may extend to 24-48 hours due to volume. Emergency tarping is the first priority — stopping active water infiltration. Permanent repairs are scheduled once the immediate crisis is stabilized and the insurance process begins.
- What should I do about water damage inside my home from a roof leak?
- Move furniture and valuables away from the leak area. Place buckets or bins under active drips. If water is pooling on a ceiling, puncture the center of the bulge with a screwdriver to drain it into a bucket — this prevents the weight of accumulated water from collapsing the entire ceiling section. Run fans and dehumidifiers to reduce moisture. Photograph everything before cleanup for your insurance claim documentation.